Applies to Administrator accounts with Impersonation and Mail Delegation access
Follow these steps to create a properly formatted CSV file using Notepad and upload it to migrate multiple user mailboxes to Office 365 or Exchange Server.
Happy John,[email protected]Open the Start menu and search for "Notepad", then launch the application. You can also press Win + R, type notepad, and press Enter.
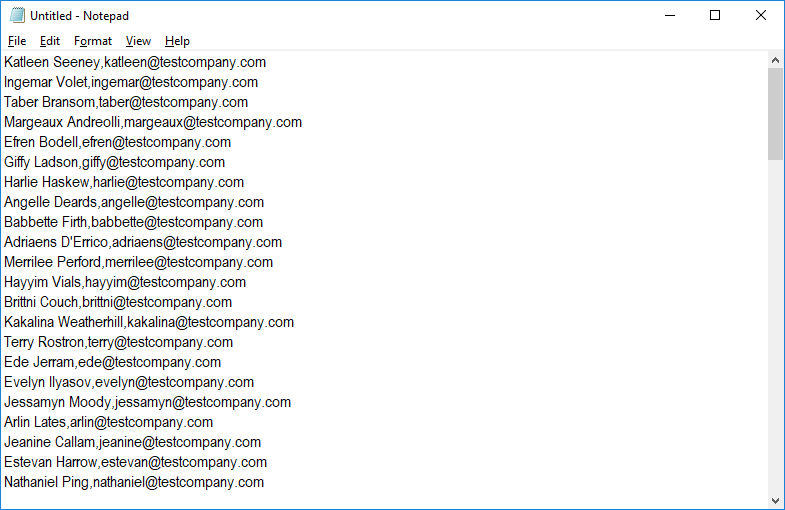
Write down the user name and user account with a comma in between. For example, if the account details you want to add is Happy John with account ID [email protected]:
⚠️ Important: No space preceding or following the comma. Press ENTER for each new entry.
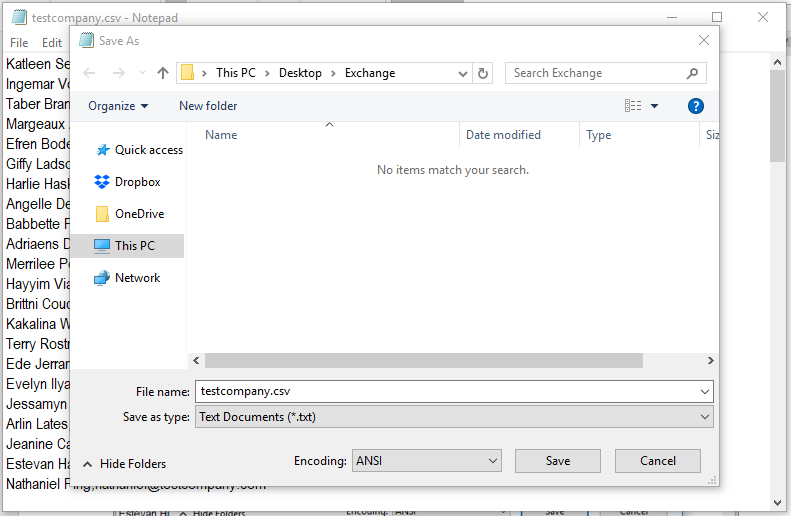
Go to File → Save As. In the 'File name' box, type your filename followed by .csv (e.g., users.csv). Keep the 'Save as type' as Text Documents and click Save.
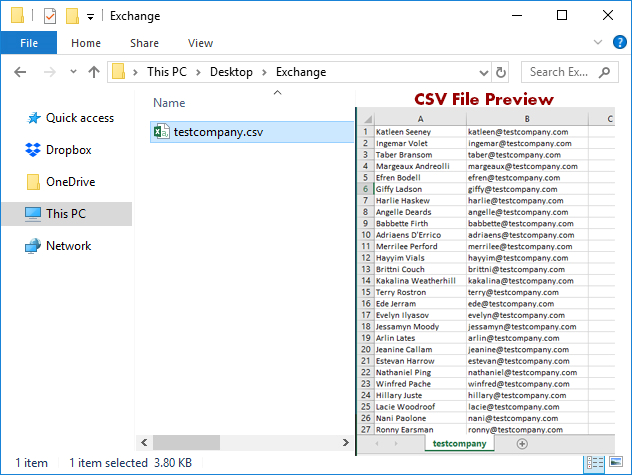
You have successfully created the CSV file using Notepad. You can also use Microsoft Excel to save the data in CSV format.
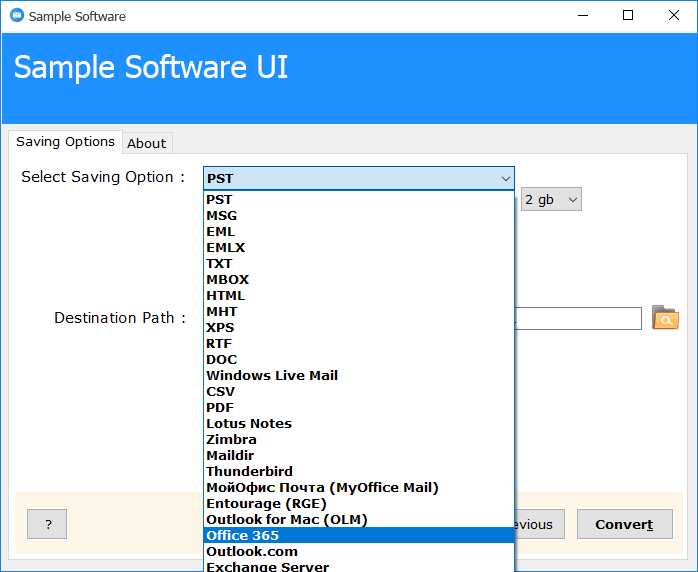
Open the software and click on Select folders to select your 100+ mailbox folders. Click on Next, check the mailbox folders to be converted, and click Next again. Select Saving Option as Office 365 or Exchange Server.
Enter your Office 365 administrator credentials and check the 'I am Admin' option. To process the migration, the admin ID should have Mail Delegation and Impersonation rights.
📋 Requirements: Administrator account must have Impersonation and Mail Delegation access enabled in Office 365 Admin Center.

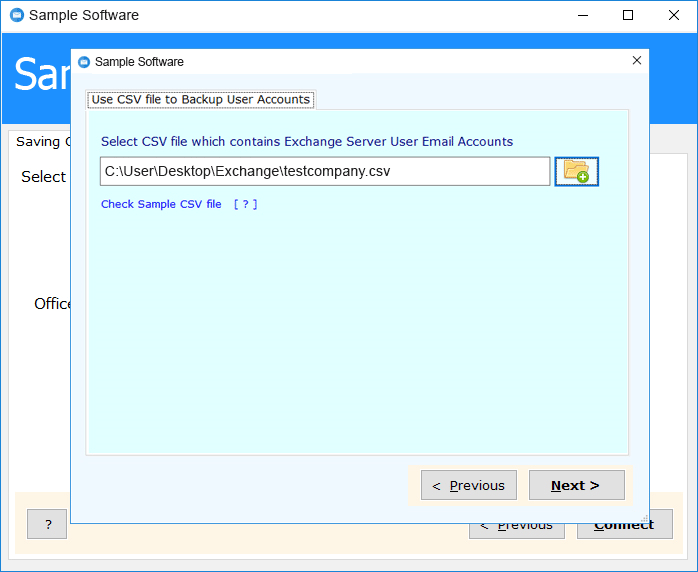
Browse and select the saved CSV file containing all user details. Click on Next button. Once done, click on Convert button to start the migration process for all users listed in the CSV file.
The software will now process all users from the CSV file and migrate their mailboxes to Office 365 or Exchange Server. You can monitor the progress in the Logs tab.
